A Comprehensive Guide to Replacing Brake Wheel Hub Assemblies in a 2006 Ford F150
Unsure how to tackle the task of replacing the brake wheel hub assemblies on your 2006 Ford F150? Fear not this comprehensive guide is your roadmap to a successful DIY replacement.
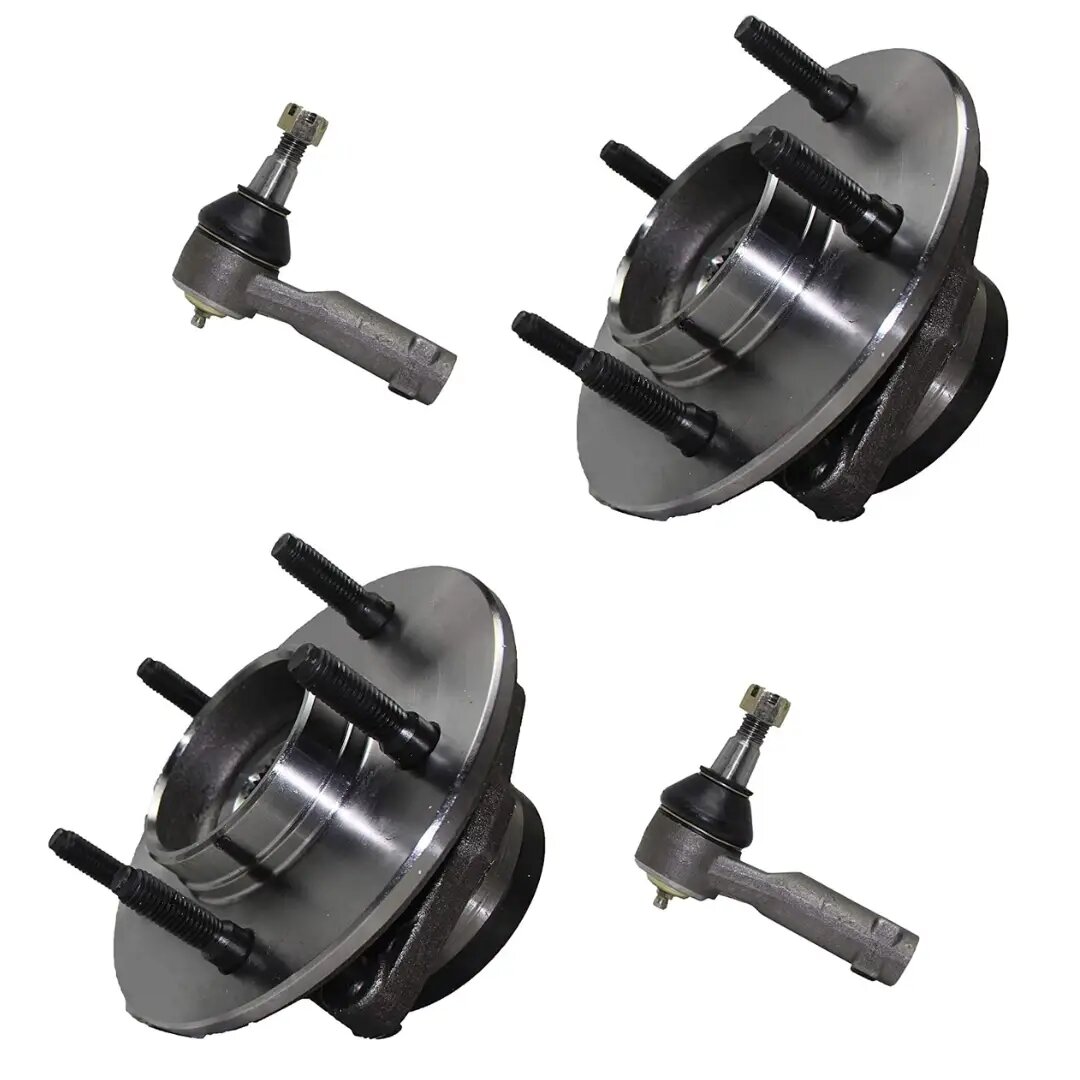
The brake wheel hub assembly is a vital component of your vehicles braking system, and over time, wear and tear can compromise its effectiveness. You will be guided through the whole procedure, from assembling the required equipment to tightening the lug nuts, using this step-by-step tutorial.
Whether you are a seasoned DIY enthusiast or a first time-home mechani, we have got you covered.
Get ready to roll up your sleeves & restore your 2006 ford f150 brake wheel hub assembly braking performance with confidence and clearness. Lets dive into the details of a hassle-free brake wheel hub assembly replacement that ensures your vehicle stops safely and reliably.
Gather Necessary Tools and Materials
Before starting the replacement process, its essential to gather all the tools and materials you will need. This typically includes a lug wrench, jack and jack stands, a socket set, a torque wrench, and a new set of brake wheel hub assemblies designed for the 2006 Ford F150.
Lift the Vehicle Safely
Using the lug wrench, loosen the lug nuts on the wheel of the corner where youll be replacing the brake wheel hub assembly. Then safely lift the vehicle using an appropriate jack and secure it with jack stands. Ensure the vehicle is stable and wont shift during the replacement process.
Remove the Wheel and Brake Caliper
Fully remove the lug nuts and take off the wheel. Once the wheel is removed, locate the brake caliper, which is held in place by bolts. Use the appropriate socket to remove the caliper bolts and then carefully suspend the caliper from the suspension components using a bungee cord or mechanics wire to avoid putting strain on the brake line.
Access the Brake Wheel Hub Assembly
Behind the brake rotor, you will find the brake wheel hub assembly. This assembly is typically secured by bolts, and youll need to use your socket set to remove them. Once the bolts are removed, the assembly should come free.
Install the New Brake Wheel Hub Assembly
Take your new brake wheel hub assembly and position it correctly. Secure it in place by tightening the bolts to the manufacturers recommended torque specifications. This information can usually be found in your vehicles repair manual or the replacement parts documentation.
Reassemble the Brake Caliper and Wheel
Once the new brake wheel hub assembly is securely in place reattach the brake caliper using the bolts you removed earlier. Ensure that the caliper is properly aligned and torqued to specification. Then, put the wheel back on and hand-tighten the lug nuts.
Lower the Vehicle and Torque the Lug Nuts
Carefully lower the vehicle from the jack stands using the jack. Once the vehicle is on the ground, use a torque wrench to tighten the lug nuts to the recommended torque settings. This is crucial for ensuring the wheel is securely attached.
Test the Brakes
To make sure the braking system is correctly pressured before you get on the road, give the pedal a few pumps. Take the vehicle for a short test-drive, paying attention to any unusual noises or vibrations. If everything feels and sounds normal, the brake wheel hub assembly replacement was successful.
Conclusion:
Replacing the brake wheel hub assemblies on your 2006 Ford F150 might seem like a daunting task, but with the right tools and a systematic approach, its a manageable DIY project. Vist autobuffy.
By doing these things you can keep your cars braking system operating safely & effectively.
Do not hesitate to seek expert advice if at any point during the procedure you feel uncertain or uneasy.